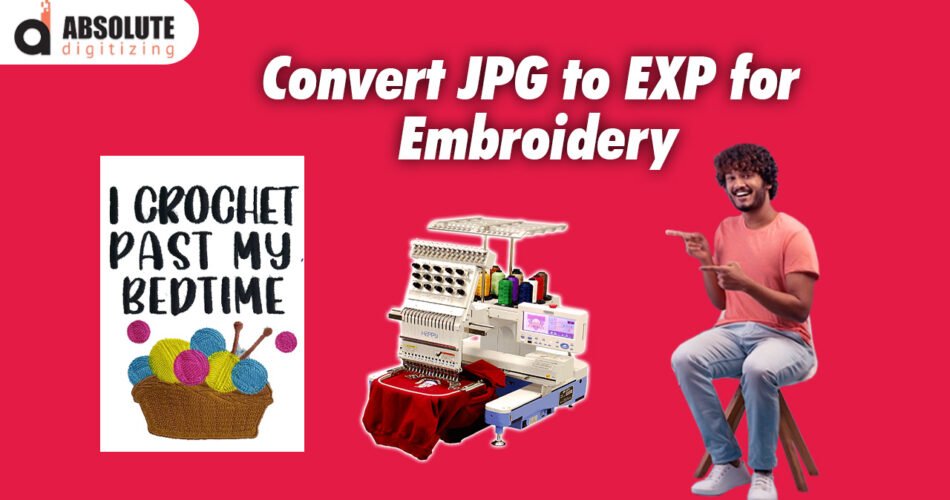
You’ve found the perfect image—maybe it’s a company logo, a custom design, or a special photograph—and now you want to transform it into beautiful embroidery using your Melco or other EXP-compatible machine. While it might seem like you could just upload the JPG and hit “stitch,” there’s an important translation process that needs to happen first. Convert JPG to EXP for embroidery format properly makes the difference between a professional-looking result and a disappointing mess of thread.
Why EXP Files Matter
EXP isn’t just another file format—it’s the specialized language that industrial embroidery machines like Melcos understand. Unlike a JPG, which is simply a flat image, an EXP file contains:
- Precise needle placement coordinates (exactly where each stitch should go)
- Thread color changes (when to switch colors for multi-color designs)
- Machine commands (like when to trim thread or jump between sections)
- Hoop positioning data (ensuring your design stitches in the right place)
When you convert a JPG to EXP properly, you’re not just changing file types—you’re creating a set of detailed instructions that tell the machine exactly how to recreate your design in thread.
Choosing the Right Image for Conversion
Not all JPGs convert well to embroidery. The best candidates have:
✔ Clear, defined edges (think logos or line art rather than photographs)
✔ Limited colors (6 or fewer works best for clean results)
✔ Good contrast between elements
✔ Minimal tiny details (small text often gets lost in stitching)
Images that typically don’t work well:
✖ Blurry or low-resolution pictures
✖ Images with complex shading or gradients
✖ Designs with extremely thin lines (less than 1mm thick)
✖ Busy backgrounds (solid colors convert better)
If your image isn’t ideal, you can edit it first using free tools like Photopea (a browser-based Photoshop alternative) or GIMP to:
- Remove distracting backgrounds
- Increase contrast to make edges sharper
- Simplify complex areas
- Convert to black-and-white if that better suits your needs
The Conversion Process Explained
1. Preparing Your Image
Before you even open your digitizing software:
- Crop to focus on the main subject
- Remove any unnecessary background elements
- Resize to your intended embroidery dimensions
- Boost contrast to better define edges
Pro tip: Save both your original and edited versions—you may need them for different projects down the road.
2. Choosing Your Conversion Method
You’ve got several options for converting JPG to EXP:
Professional Digitizing Services ($25-$100 per design)
- Best for: Important logos or complex artwork
- Pros: Expert results, saves you time
- Cons: More expensive upfront
Industrial Software (Wilcom, Pulse, etc.)
- Best for: Commercial embroiderers
- Pros: Maximum control, production-quality files
- Cons: Expensive ($1,000+), steep learning curve
Consumer Software (Embrilliance, SewArt, etc.)
- Best for: Small businesses and serious hobbyists
- Pros: More affordable, easier to learn
- Cons: Limited advanced features
Online Converters
- Best for: One-time simple projects
- Pros: Fast and inexpensive
- Cons: Limited quality control
3. The Actual Digitizing Steps
Once you’ve chosen your method:
- Import your JPG into your digitizing software
- Use auto-digitize as a starting point (but don’t rely on it completely)
- Clean up the design by removing unnecessary stitch points
- Assign appropriate stitch types:
- Fill stitches for large solid areas
- Satin stitches for borders and text
- Running stitches for fine details
- Set stitch density (typically 0.3-0.5mm for most fabrics)
- Add underlay stitches for stability:
- Edge run for outlines
- Zigzag for large fill areas
- Center run for general support
- Sequence the stitches efficiently to minimize thread trims and jumps
4. Testing and Refinement
Never skip this crucial step:
- Stitch the design on scrap fabric similar to your final material
- Examine for:
- Puckering (reduce density if needed)
- Thread breaks (adjust tension or needle size)
- Distortion (add pull compensation)
- Make adjustments in your software
- Stitch again until you’re happy with the results
5. Saving as EXP
When you’re satisfied:
- Select “Save As” in your software
- Choose .EXP as the file format
- Select the correct version for your machine
- Save to your preferred storage method (USB, computer, etc.)
Why Quality Conversion Matters
Taking the time to properly convert your JPG to EXP pays off in:
- Professional-looking results that do your design justice
- Longer-lasting embroidery that withstands washing and wear
- Smoother machine operation with fewer thread breaks
- Efficient production (important for businesses)
A local school I worked with initially used auto-converted files for their uniform logos—the results were inconsistent and often needed repair. After professional EXP conversion, their logos now look crisp and identical across hundreds of garments.
Common Problems (And How to Fix Them)
Problem: Corners look rounded instead of sharp
Solution: Add corner stitches and increase pull compensation
Problem: Fabric puckers around the design
Solution: Use heavier stabilizer or decrease stitch density
Problem: Thread keeps breaking
Solution: Check your needle size and reduce density slightly
Problem: Small details disappear when stitched
Solution: Simplify the design or increase its size
When to Consider Professional Help
While many designs can be converted at home, consider professional digitizing when:
- Your design has very small text (under 1/4 inch tall)
- Color matching is critical for brand consistency
- You’re working with specialty fabrics like stretch knits or towels
- The design will be used repeatedly in production
The Future of JPG to EXP Conversion
New technologies are making this process easier:
- AI-assisted digitizing that learns from your corrections
- Cloud-based services that handle complex conversions
- Improved auto-digitizing that requires less manual cleanup
- Machine learning that predicts how designs will stitch on different fabrics
However, even with advanced tools, testing on actual fabric remains essential—there’s no substitute for seeing how thread behaves in real life.
Your EXP Conversion Checklist
Before starting your project:
☑ Have high-quality artwork ready
☑ Know what fabric you’ll be stitching on
☑ Choose your conversion method
☑ Gather all necessary threads and stabilizers
☑ Plan for multiple test stitches
Remember: Converting JPG to EXP is both an art and a science. Your first attempts might not be perfect, but each project will teach you valuable lessons. With practice, you’ll develop an eye for what makes a design stitch well.
Now it’s your turn—take that special image you’ve been wanting to embroider and start the conversion process. Your EXP-compatible machine is ready to bring your design to life in thread, one perfectly placed stitch at a time.