Sheetrock installation looks simple on the surface, but professional contractors know it’s a craft that requires precision, strategy, and an understanding of how buildings expand, settle, and respond to moisture. If you’ve ever wondered how experts create flawless walls and ceilings without visible joints, cracks, or unevenness, this guide reveals the insider secrets you’ve been missing.
Whether you’re renovating, repairing storm damage, or building a new room, these pro tips can help you get cleaner results—and also help you understand why hiring Sheetrock Installation and Repair Services in Sioux Falls, SD often delivers the best outcome. If you’re planning a drywall project soon, this guide will help you work smarter, not harder.
1. Get the Right Sheetrock Thickness from the Start
Most homeowners assume all drywall is the same, but professionals know each thickness serves a purpose:
-
1/2-inch – Standard for most interior walls
-
5/8-inch – Best for ceilings and soundproofing
-
1/4-inch – Ideal for curves or resurfacing damaged walls
Using the wrong thickness leads to sagging ceilings, weak joints, or uneven surfaces. This is one of the first ways pros ensure a job lasts for decades. When hiring Sheetrock Installation and Repair Services in Sioux Falls, SD, the team will evaluate structural needs before selecting the right type of board.
2. Moisture-Resistant Sheetrock Is Worth the Investment
Bathrooms, laundry rooms, and basements need protection from humidity. Experts use moisture-resistant or mold-resistant boards to keep your home safe and clean. While they cost slightly more, they prevent expensive mold remediation later.
Pros often check:
-
HVAC air flow
-
Moisture exposure
-
Plumbing proximity
This ensures the right Sheetrock variant is used, preventing bubbling, warping, or mold growth.
3. Always Install Boards Horizontally for Fewer Seams
One of the biggest secrets in the industry? Horizontal installation creates stronger walls. Here’s why:
-
Fewer seams reduce cracking risk.
-
It aligns with natural wall framing.
-
Taping becomes dramatically easier.
-
The finished wall looks smoother.
Vertical installation is only recommended in commercial projects or unusual framing layouts. For most homes in Sioux Falls, horizontal mounting creates the cleanest finish.
4. Leave a 1/2-Inch Gap at the Bottom of the Sheet
Most homeowners don’t know that pros never let drywall touch the floor.
Why? Because:
-
Wood framing absorbs moisture
-
Floors shift with temperature
-
Avoiding contact prevents wicking and water damage
Contractors leave a small gap, later covered by trim, to extend wall life and maintain structural integrity.
5. Screws Over Nails—Always
Professionals always favor screws because they provide:
-
Better grip
-
Less risk of popping
-
Cleaner finish
-
Higher durability
In older homes, nails often pop over time due to framing movement. Screws eliminate this problem, keeping your walls smooth for years.
6. Use the “Butt Joint Bump” Technique
This is one of those advanced tricks known only by seasoned experts. Butt joints—where two factory-cut ends meet—can create visible bumps if not blended perfectly. To avoid this, pros slightly recess the studs behind these joints to create a smooth surface.
This ensures:
-
No bulging
-
Easier taping
-
Cleaner paint finish
If you’ve ever seen a wall that looks slightly raised in one area, this technique was skipped.
7. Perfect Taping Starts with the Right Mud Consistency
Professionals mix joint compound to a specific consistency depending on the step:
-
Taping coat: Slightly thinner for easy bonding
-
Second coat: Medium consistency
-
Finish coat: Thinner for smooth feathering
The wrong thickness creates ridges, bubbles, or cracking. Contractors offering Sheetrock Installation and Repair Services in Sioux Falls, SD are trained to adjust compound based on humidity, temperature, and board type.
8. Feathering Is the Secret Behind Invisible Joints
Feathering is the technique that makes seams disappear. Here’s how pros do it:
-
Use wider knives for every coat (6″, 10″, 12″).
-
Apply thin coats rather than thick layers.
-
Feather outward by gradually reducing pressure.
The result? Smooth, flawless walls that look professionally installed.
9. Sanding Is a Skill—Not Just a Step
Most DIYers oversand, undersand, or sand unevenly. Professionals follow a strict process:
-
Use light pressure
-
Sand in circular motions
-
Backlight the wall to check imperfections
-
Use dust-control sanding tools
They also know which spots require sanding and which should be left untouched to avoid gouging the wall.
10. Priming Makes or Breaks the Final Look
Skipping primer or using the wrong one leads to:
-
Flashing
-
Uneven paint absorption
-
Visible seams
-
Patchiness
Pros use a PVA primer specifically for new Sheetrock. It seals the surface, ensures uniform paint coverage, and increases longevity.
11. Temperature and Humidity Matter More Than You Think
Drywall compound behaves differently depending on the environment. Professionals maintain:
-
Temperature between 55–70°F
-
Controlled humidity
-
Good airflow
This ensures proper curing and reduces shrinking or cracking.
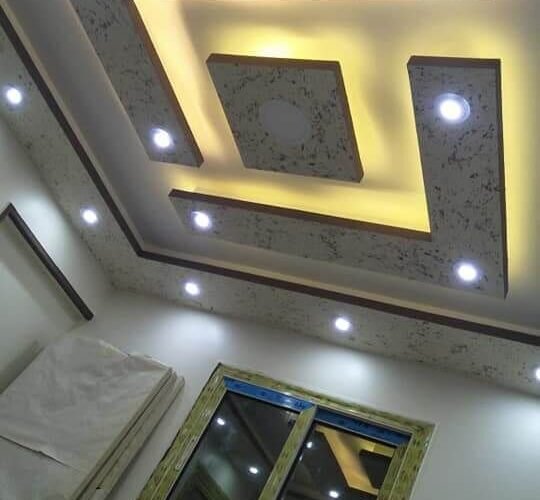
12. Use Back-Blocking for Ultra-Smooth Ceilings
Back-blocking is a pro-level technique where drywall seams are reinforced from behind. This prevents sagging, especially in ceilings, and creates a perfectly flat surface.
Homeowners rarely attempt this because it requires precision and the right tools.
13. Hire Professionals for Complex or Large Projects
DIY is great for small holes or single boards. But full-room installs, ceilings, or repairs requiring taping and finishing should be handled by experts.
Professional Sheetrock Installation and Repair Services in Sioux Falls, SD provide:
-
Clean seams
-
Zero-crack finishing
-
Fast installation
-
Long-lasting durability
-
Perfect painting surface
They also ensure your walls meet structural and safety standards, which is crucial for home value and long-term performance.
Frequently Asked Questions (FAQs)
1. How long does Sheetrock installation usually take?
A single room typically takes 1–2 days for installation and another 2–3 days for taping, drying, and finishing.
2. Can I repair Sheetrock myself?
Small holes and basic patches are DIY-friendly, but full-wall repairs, ceiling work, and extensive cracks are best handled by professionals.
3. What type of Sheetrock is best for bathrooms?
Moisture-resistant or mold-resistant green and purple boards are recommended.
4. Why do my Sheetrock seams keep cracking?
This often happens due to movement in framing, improper taping, or temperature shifts. Pros prevent this with correct installation and compound layering.
5. Do professionals provide smoothing and texturing?
Yes. They can apply knockdown, orange peel, level 5 smooth finishes, and more.
Final Thoughts
The secrets professional installers use every day can make your walls smoother, stronger, and far more durable. From choosing the right board thickness to mastering feathering and environmental controls, each step requires skill and knowledge. If you want results that look flawless and last for years, hiring Sheetrock Installation and Repair Services in Sioux Falls, SD is the smartest investment for your home.